Motorcycle Rack Installation-
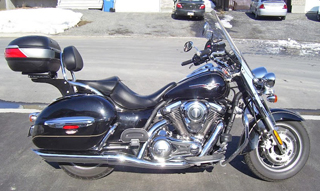
Installing the Yamaha
Roadstar Silverado rack:
New bolts are supplied with the rack. Discard the old
bolts.
1. First…protect the rear fender with a good thick
towel. ((Just in case)) The rack works with the
passenger backrest on or off the bike. The bezel needs
to stay on the bike. The bezel is what supports the
saddlebags.
2. Remove the backrest from the chrome bezel, then
both saddlebags carefully.
3. Remove the 2 bolts on each side of the rear fender
that holds the saddlebag support rails to the bike.
Discard the stock bolts. Open the rails up a bit and
slide the rack into the 2 holes on each side of the
bike, between the bezel and the saddlebag support rail.
(They will open easily.)
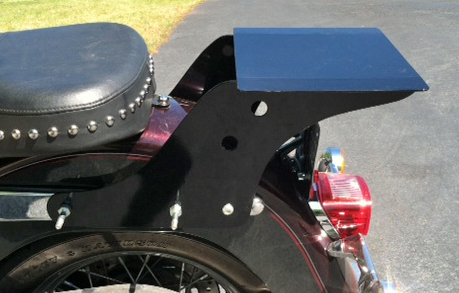
4. Place the new bolts (supplied with the rack) into
the holes and tighten all 4 bolts securely. Replace
the saddle bags.
THAT’S IT!!! Remember, the rack is only as strong as the
bolts that hold it on the bike. Even a truck can be over
loaded, so don’t overload the rack.
CORBIN SADDLEBAGS
If you are using Corbin saddlebags the racks will not
work without a lot of modifications by the customer. The
racks are manufactured to work with stock applications
on the bikes they are made for.
If your bike has saddlebags that weren't stock to
the bike then longer bolts will have to be added by the
customer.
WOMPUS Racks is not responsible by mistakes made by the
customer.

_001.jpg)